This is the story of how I spent 13 hours building a bee farm that could be built in under a minute.
I also share 3 tips in this post if you are designing your own honey farm in Minecraft.
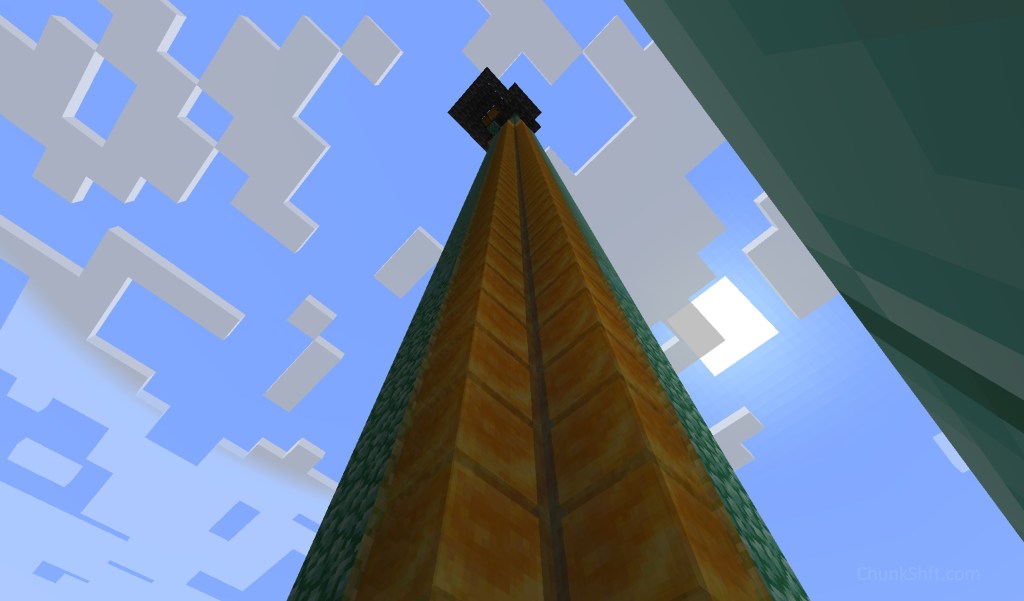
Honey for elevators
I’m slowly making progress on my guardian xp farm; however, I need honey blocks. I want to take advantage of the bubble column lifting guardians to lift myself to the killing platform.
By placing honey blocks on 2 corners of the guardian bubble column an elevator is created without the need for an additional bubble column. This will help later when wrap a 1 chunk build around the top of the farm.
I had collected some hives while out exploring previously and figured a honey farm would be a quick project…
Thinking outside the box
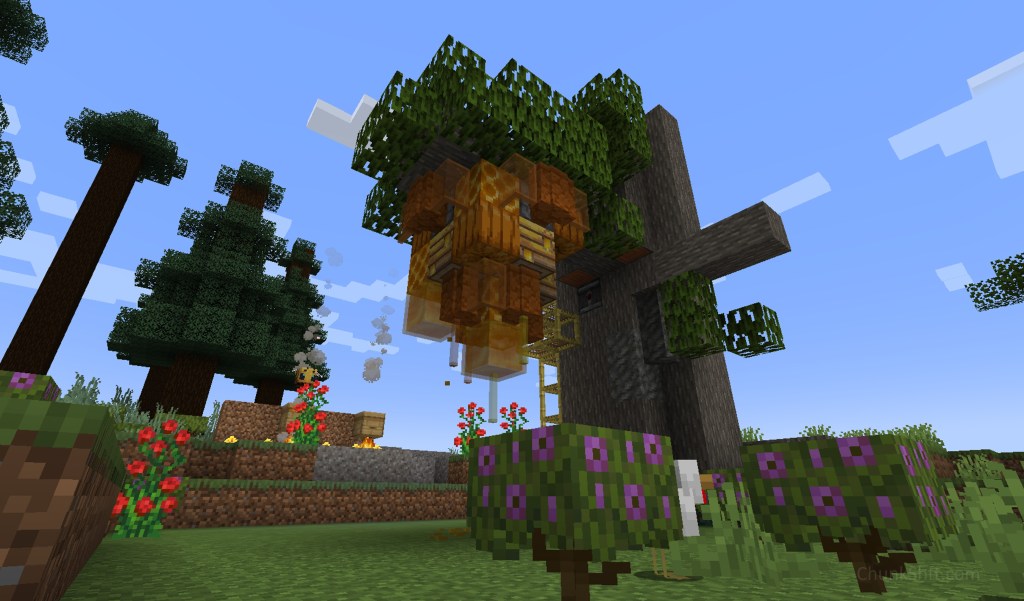
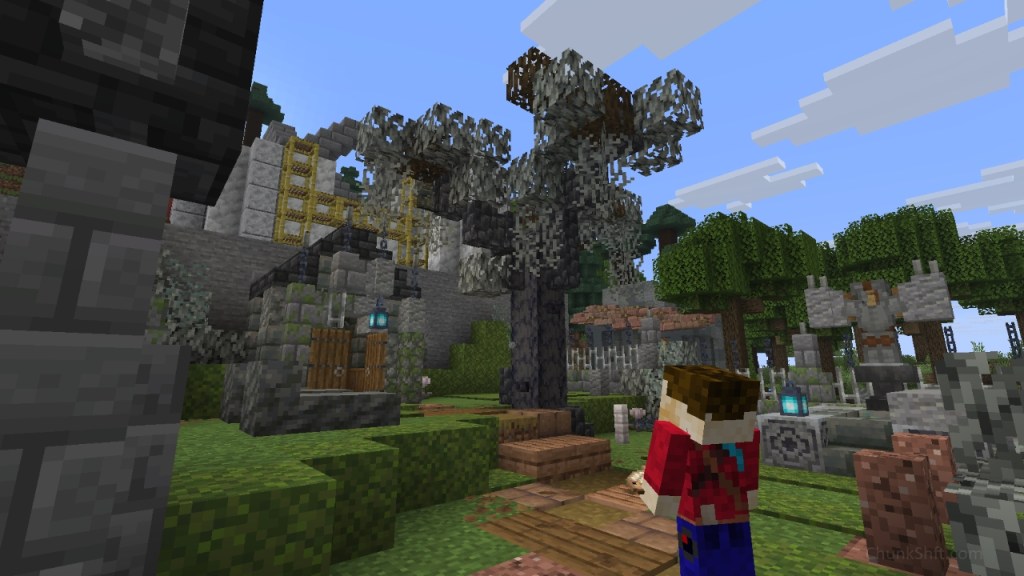
A considerable amount of time went into trying to make a hanging nest work; a design I later drop.
The functional components of a honey farm could fit easily in a chunk; however, both the bees nest and a tree would not. If I built a bees nest that both functioned as a farm and looked good that would take up most of a chunk.
The tree the bees nest would suspend from would never fit within a chunk. Making for a multi chunk build. Something I’m avoiding unless completely necessary.
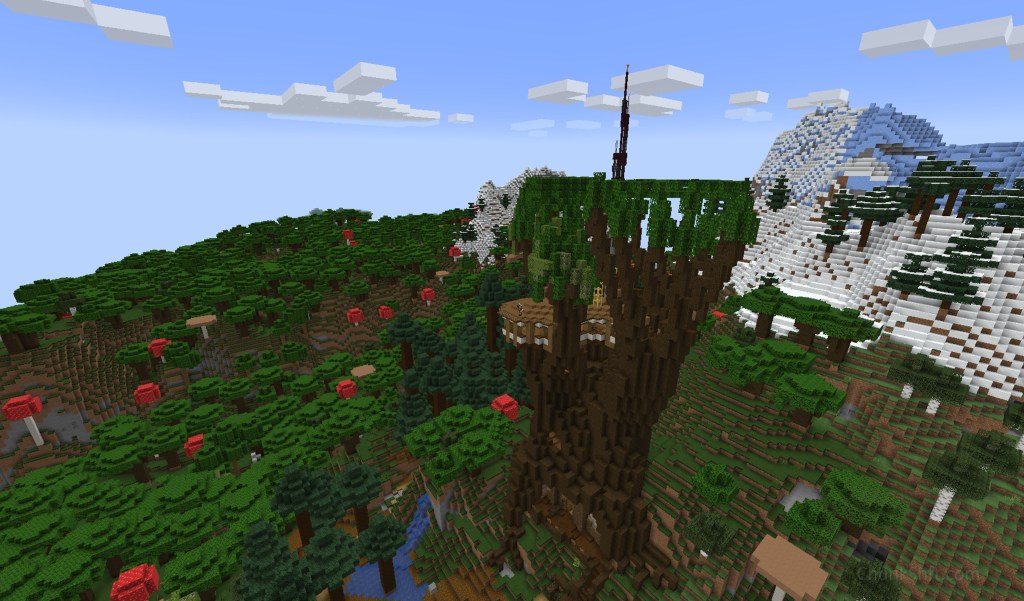
I’ve started building a mega tree in Minecraft before and am not interested in starting builds I don’t finish anymore. I would need a different approach.
The dispersed approach
With the fully automated approach taking up a lot of space, I decided to see how small I could go.
Question: What is the minimum number of components that would allow honey to harvest without player interaction?
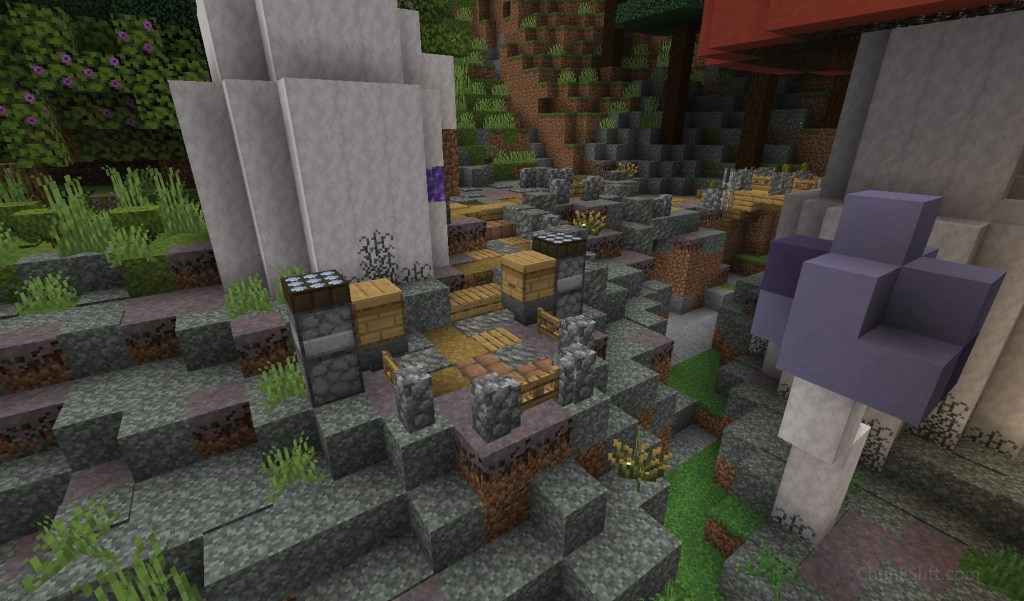
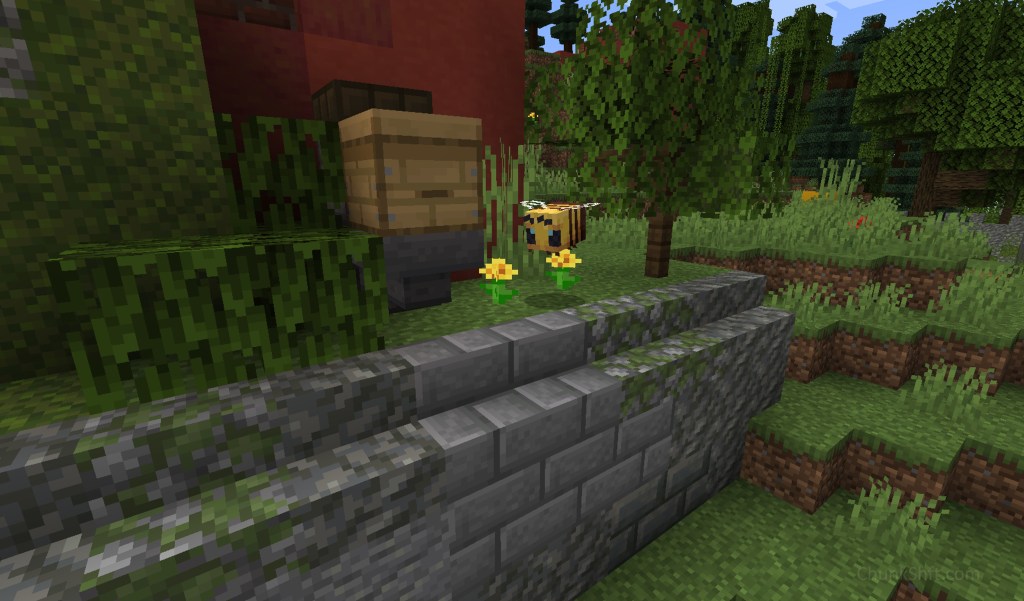
Answer: 1 daylight sensor, 1 hopper, 1 dispenser, 1 dropper and 1 bees nest.
Luckily the end result looks like something you would see as a backyard bee hive IRL.
Past success
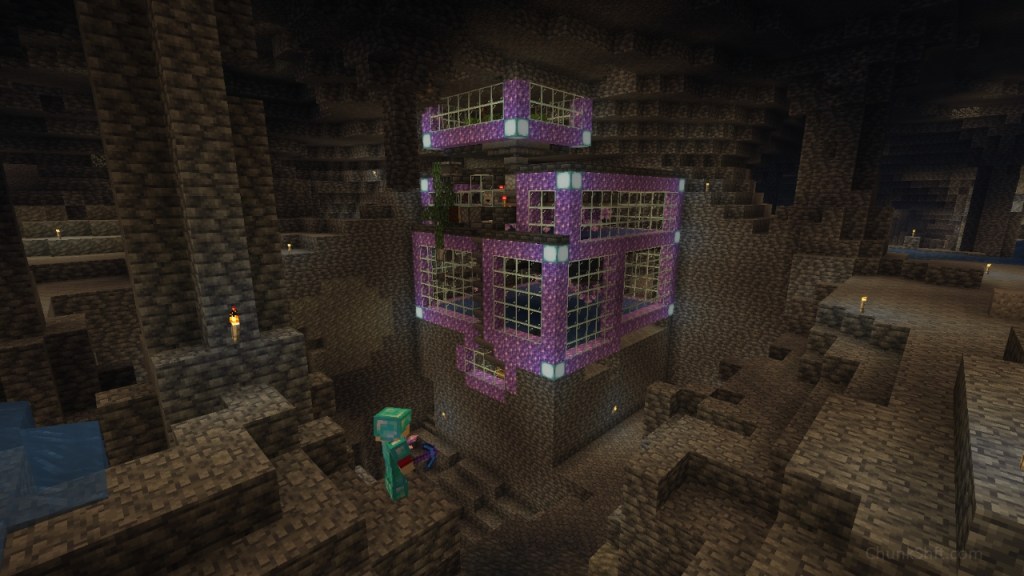
I considered a house or decorative build around the honey farm. This is what I would recommend if you were looking for a simple solution with decent output (Putting it in the Nether would help that output even further).
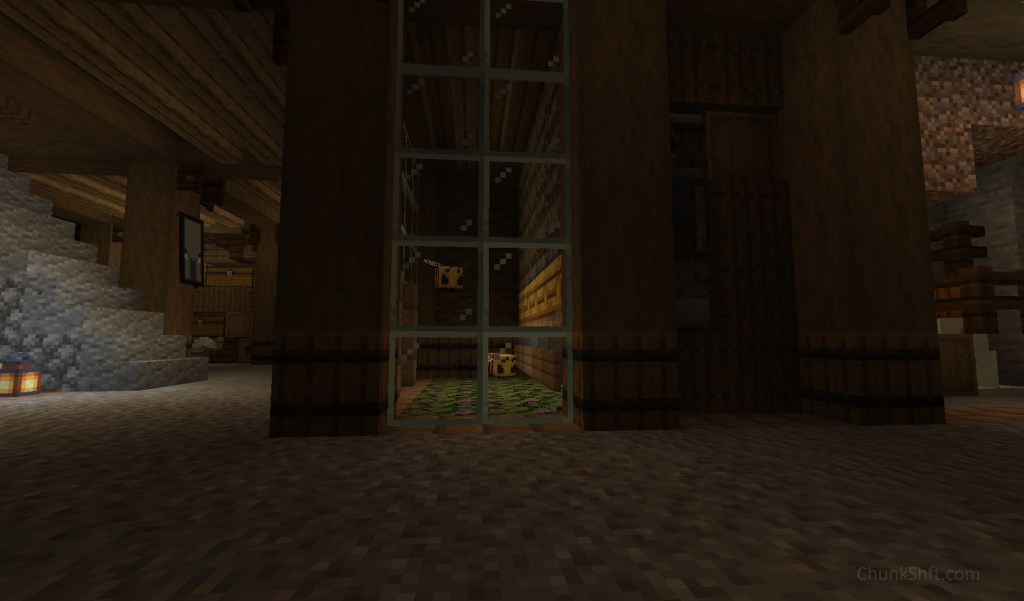
In my last world, I built the honey farm above in the basement of my base; it wasn’t perfect but got the job done. This design kept the bees alive without looking too much like a mob jail.
3 Tips for your minecraft honey farm
Honey farming works because a dispenser with an empty bottle is able to extract honey from a full bee hive (or nest). This piece of knowledge will help understand some of what I write below.
1. You need a hopper under your hive
My first attempt at a honey farm; a realistic bee hive suspended from a tree branch, attempted to collect bottles with a minecart and rails. The random nature of minecraft mechanics made this too difficult. A large flat area was needed for the minecart to be effective, and bottles still found their way outside of the collection area.
Objects leaving a dispenser do so with some randomness in their direction. The object then has to find tits way through a solid block (the hive); introducing more randomness. The size of the collection area was taking away from the realism of the bee hive above.
Save yourself a headache. Put a hopper under the hive/nest you’re collecting from.
2. Decide how you will trigger your dispenser(s)
A bee hive has 5 levels of fullness. A comparator will detect each of these levels lighting up 1 redstone dust per level. A full hive lights up 5 redstone dust; not the typical 15 for a full container.
In the past I’ve decided to take use a timer rather than a comparator output. I didn’t understand the above and used 1 comparator with an observer. It would activate every-time the level changed and resulted in a lot of empty bottles. Using an etho hopper clock I was able to have the dispensers fire when all hives would be full.

This time I landed on another option; the daylight detector (set to inverted daylight detector mode). Activating after a day is complete is usually enough time for the hive to reach level 5 (full).
If it isn’t an empty bottle gets dropped into the hopper and I just move up top when I check for honey and honeycomb. If you’re looking for full automation; however, you’re best option is a comparator.
All these options take up different amounts of space and will need to be considered in your final design.
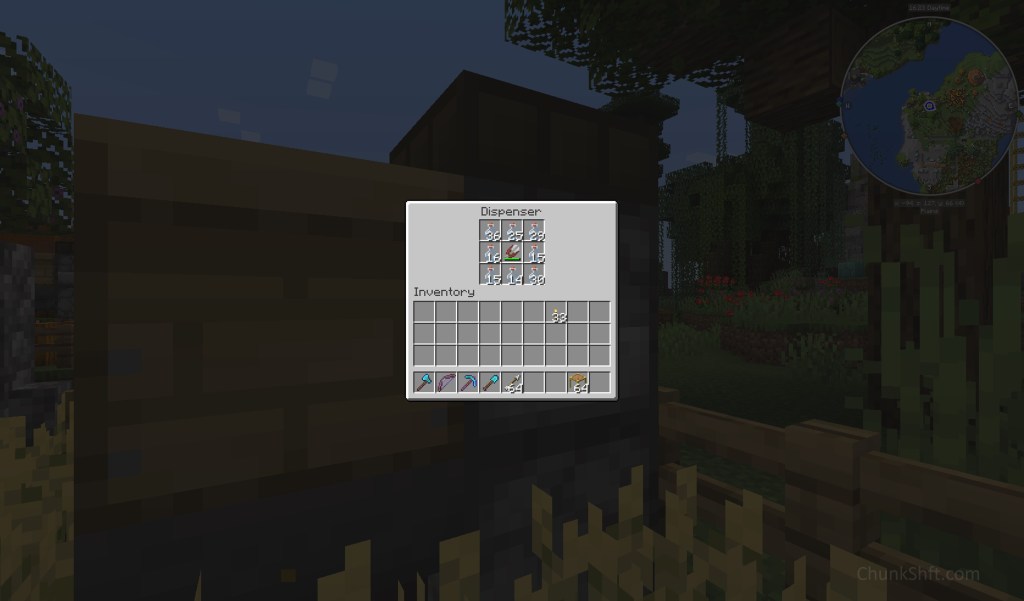
3. Put shears in your dispenser
If you place 1 share in your dispenser; two things happen.
- You’re honey farm is now a honey and honeycomb farm.
- You need 64 less bottles to fill you dispenser(s) up.
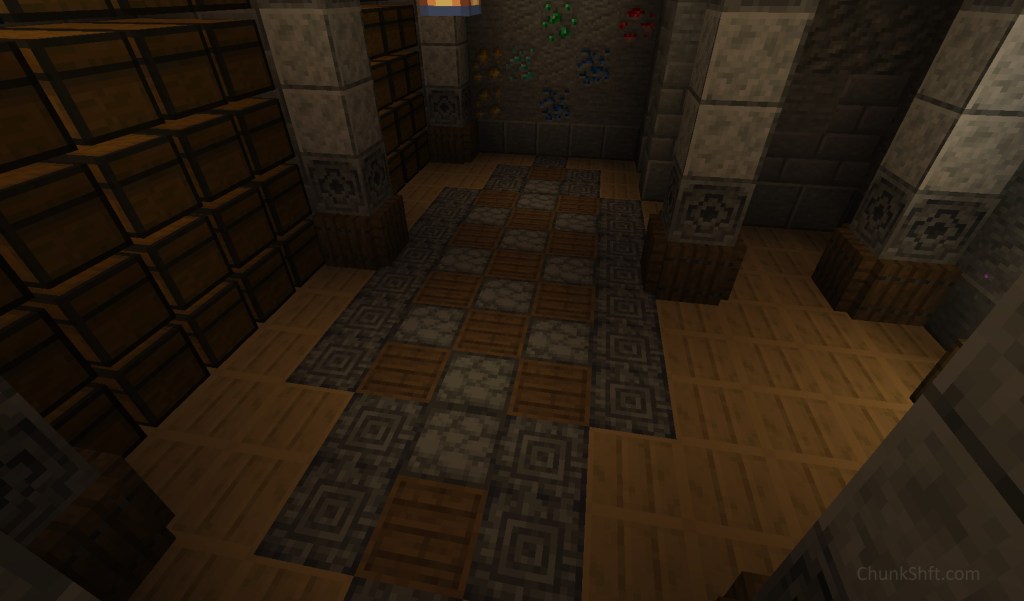
Honeycomb can be crafted into a block of honeycomb; but we are hear for the bee hives. They make great flooring blocks and look like cabinets.
Putting shares among your bottles gives your farm double duty with no downside. Shares last a while and when they break the farm still collects honey without impact.
Atmospheric utility
Bees are lovely additions to your minecraft world. Keeping them locked up, err, I mean, protected can be tempting.
Letting them roam free in addition to, or as part of, your honey collecting set up can add some life to your world. Yes bees get stuck everywhere. Like everywhere. But think about the atmosphere (vibes, rizz, drip, etc…).
Bees also supply real utility. Honey blocks unlock complex redstone components if you’re inclined. Honey water elevators are easier to build and allow travel up and down in a small space. Let me know in the comments why you want bees in your world!
Build stats
Real Life Days: 62
Minecraft Days: 287
Hours: 13
Most of the time I spent above was finding the ways I wasn’t going to build my honey farms. You could build 1 of the farms I landed on in less time than you can smelt the bottles for it. Crafting of components included.
This build was a 1 chunk build, if you’d like to see more 1 chunk builds click here.

Leave a comment